
Geolocations Setup
EnterMedia’s geolocation features allow you to: 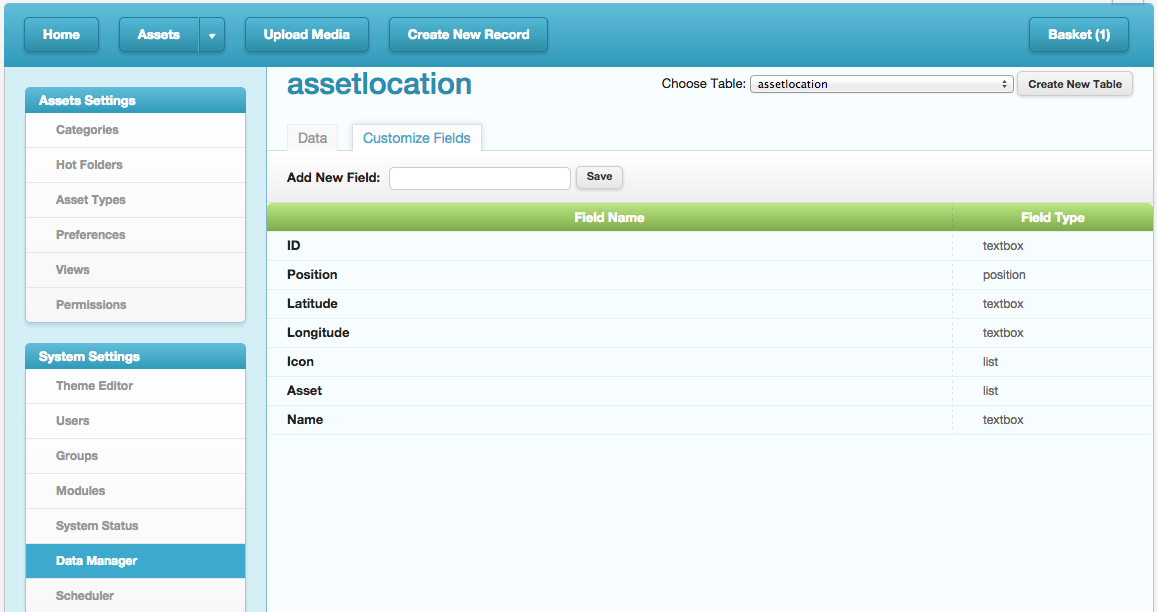 Part Two - Setup Asset View
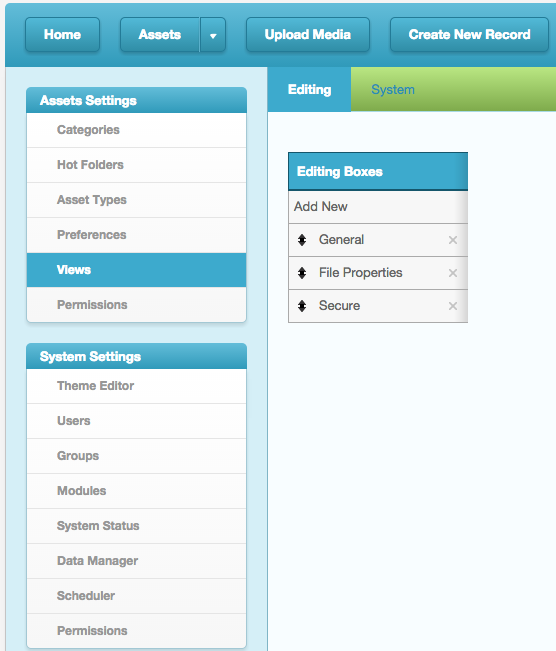
 Part Three - Setup Default Map Location
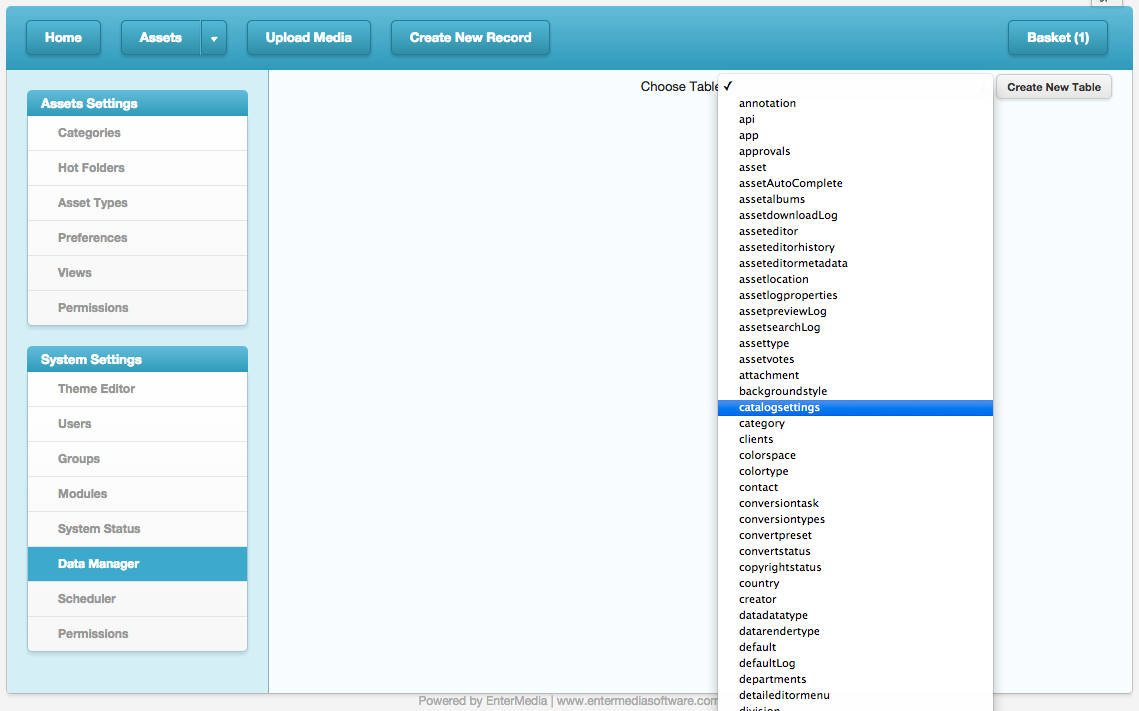
- designate a specific location as the default map location for your users
- geotag assets with multiple geolocations and multiple customized map icons
- visit Geolocation Icons to see how to use them
- Navigate to Settings-->Data Manager
- Select "assetlocation" table or click "Create New Table" button
- Specify a table name, such as "assetlocation" or "geolocation"
- Click on "Customize Fields" tab
- Create or edit fields as shown in following screenshots
- ID (Data Type: Text)
- Position (Data Type: Text, Render Type: Map)
- Latitude (Data Type: Text)
- Longitude (Data Type: Text)
- Icon (ID: geoicon, Data Type: List)
- Asset (Data Type: List, Render Type: Asset)
- Name (Data Type: Text)
 Part Two - Setup Asset View
 - Settings-->Views-->Add New

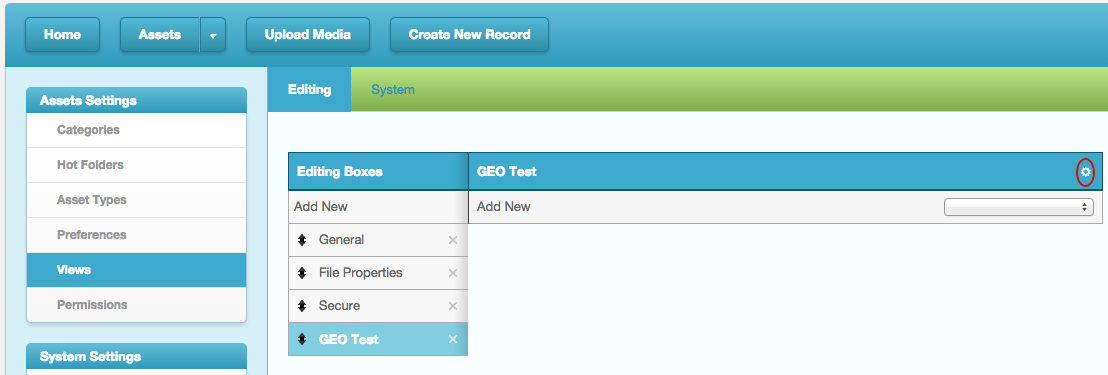
- Add a Name (we recommend ”GEO” or similar), hit Save
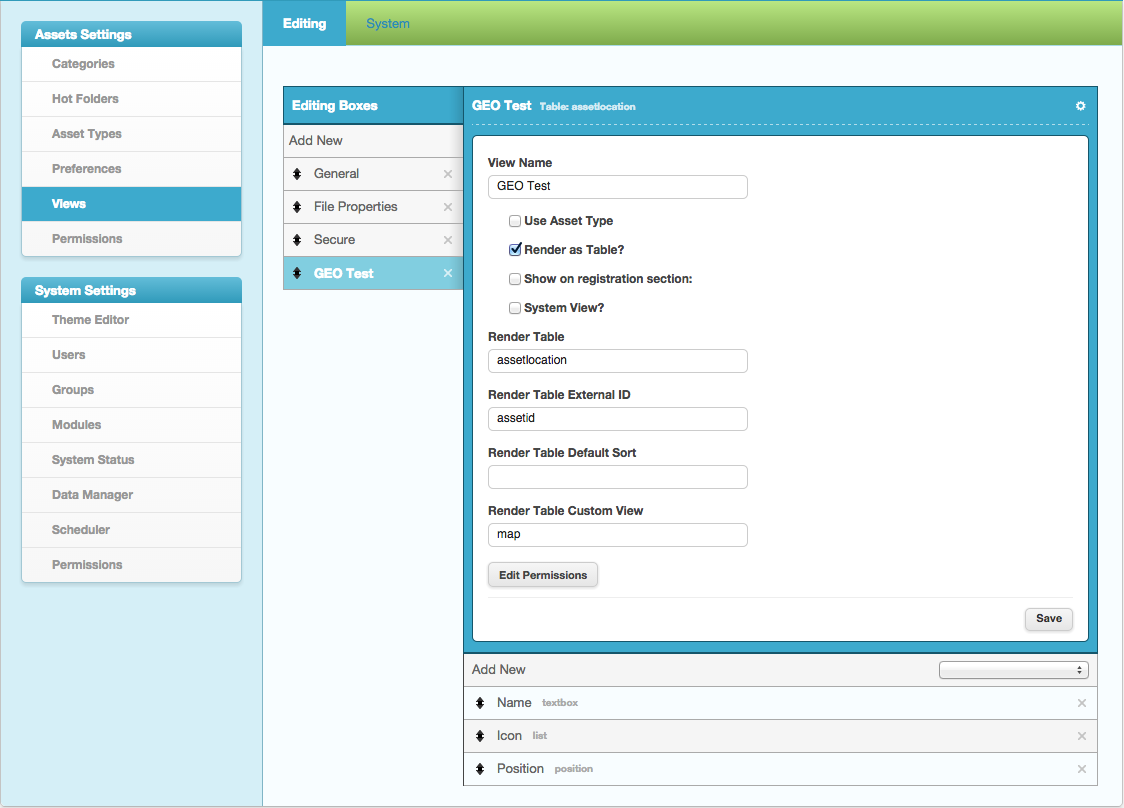
- Select Gear Icon to Edit

- Setup with the following values and add three fields (Name, Icon, Position), as pictured
 Part Three - Setup Default Map Location
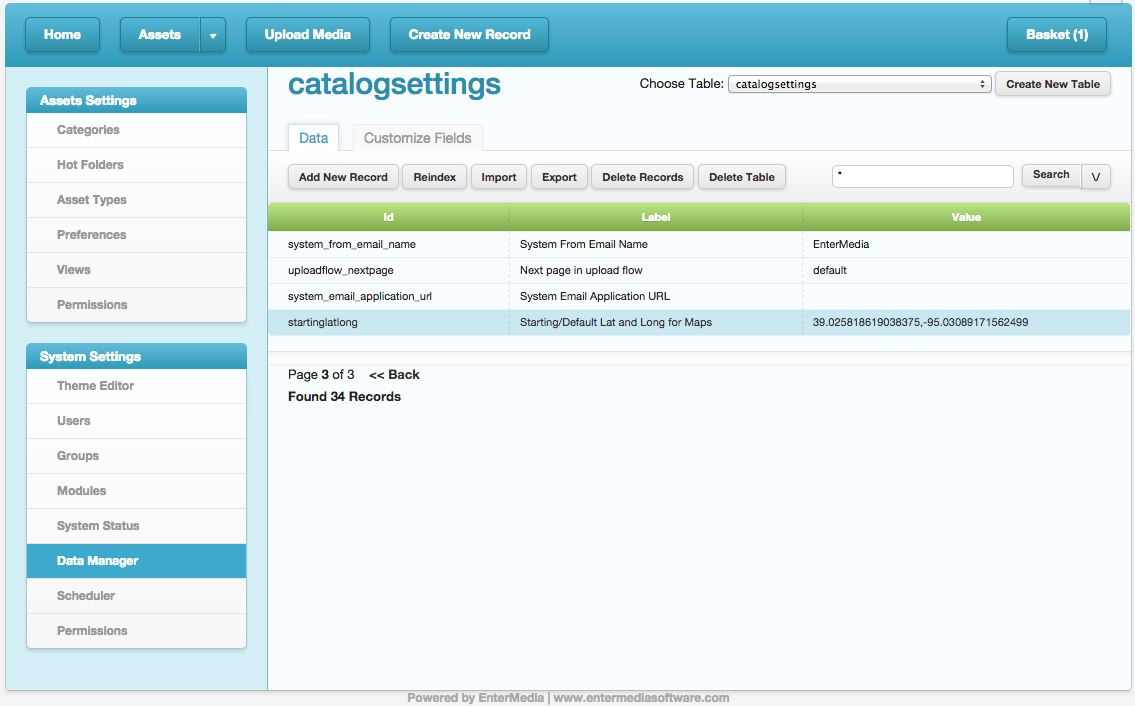
 - Settings-->Data Manager-->Choose Table “catalogsettings”

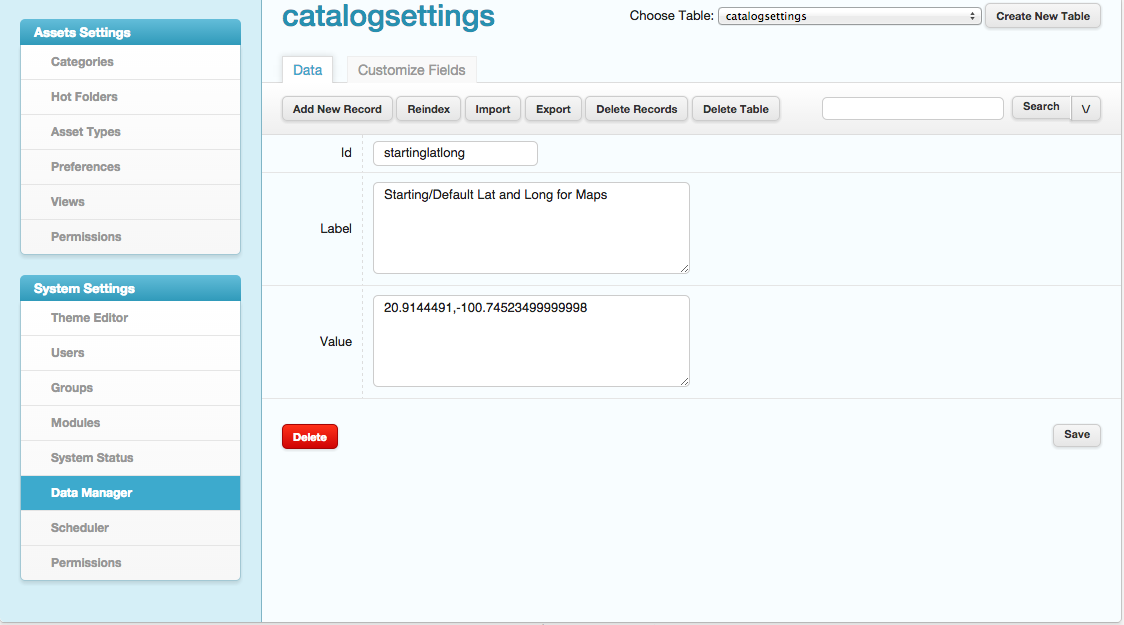
- Select record “startinglatlong”

- Gather the latitude and longitude of your desired default location upon which to center the map for your users
- Enter values in the Value field in the form of: actual latitude,actual longitude

- Click Save
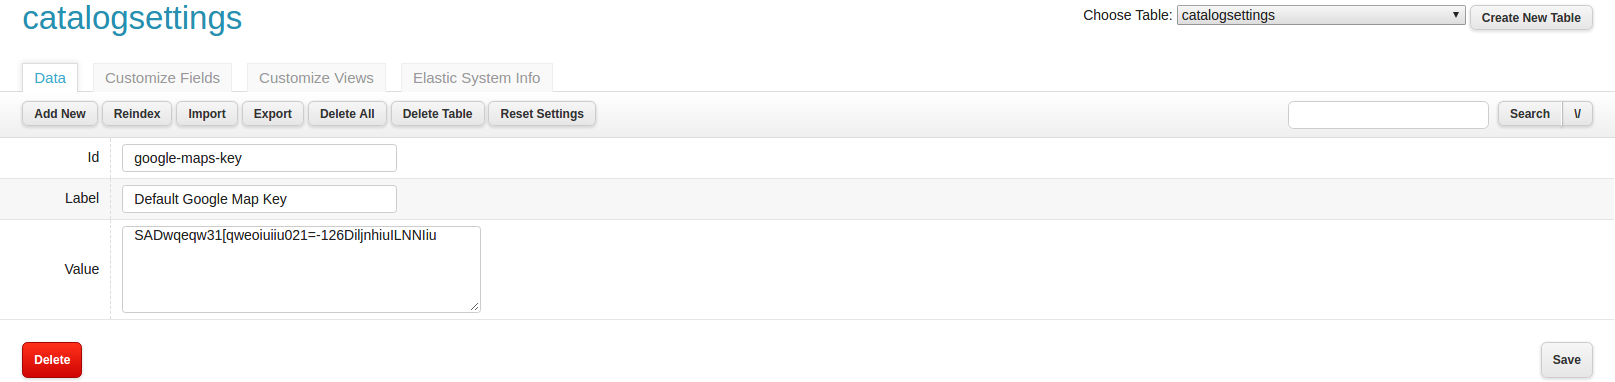
- Go to the catalogsettings table through the Settings | DataManager and create a new entry like following:
