
Canvas LMS Integration
If you are using the Canvas LMS, this article will show you how to properly integrate EnterMedia’s DAM as an app in Canvas. With this integration you can easily upload content and store it in EnterMedia, then have your organization’s users easily access the content with their Canvas credentials. This operation requires Admin access. Setting up the Entermedia LTI App in Canvas (Admin only)
- Secure your ToolBased URL https://yoursitename.entermediadb.net/assets/emshare/index.html (for example, it could also be any other URL within your site)
- Your Consumer Key: entermeidadbkey (for example)
- Set a new private encryption key named ltiautologinkey by entering a random string ( >= 100 character long ) under the systemsettings table (if a key is added, the application shall be restarted to reload the configuration)
- Secure your Shared Secret: this will be a long encrypted key that EnterMedia will create for you.
- Log in as the Canvas Site Administrator
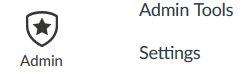
- Click the Admin “shield” and then click on your account
- Scroll to the bottom and click “Settings”:
 7.1. On the Settings bar, click the "Apps" tab
 8. From the "Apps" tab, click View App Configurations
9. Click the “+ App” button to add the new EnterMedia App
10. Leave the “Configuration Type” as Manual Entry
11. Name the App EnterMedia (or anything your users will recognize)
12. Add your institution's Consumer Key and Shared Secret from the setup email
13. Add your institution's Launch URL from your setup email
14. Leave the Domain box empty
15. Set the Privacy box to “Public” and leave the domain, Custom Fields and Descriptions boxes empty.
16. Scroll down and click “Submit” Your tool installation is complete!

Adding a Video to your Canvas Classroom
Once the EnterMedia App has been added to your Canvas installation, instructors can now add their documents/videos/graphics to their classrooms. You will want to add an asset with the “Module” option.
1. As an instructor, open up your Canvas Classroom.
2. Click on Modules 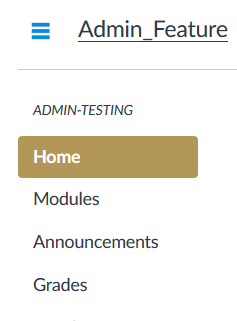
3. Click the + sign in one of your Modules 
4. In the “Add Item” box change “Assignment” to “External Tool” and select your EnterMedia App
 5. Login to your EnterMedia installation
6. Choose the asset you would like to embed and click to load it into the “Preview” window 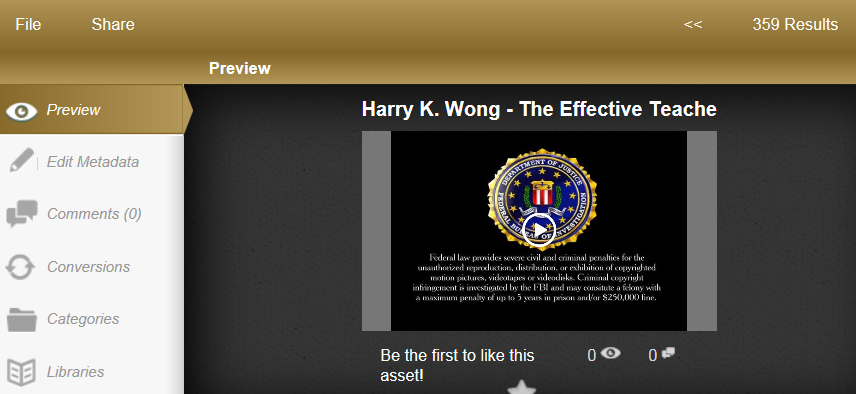 7. Click the “Share” link and click “Embed”
 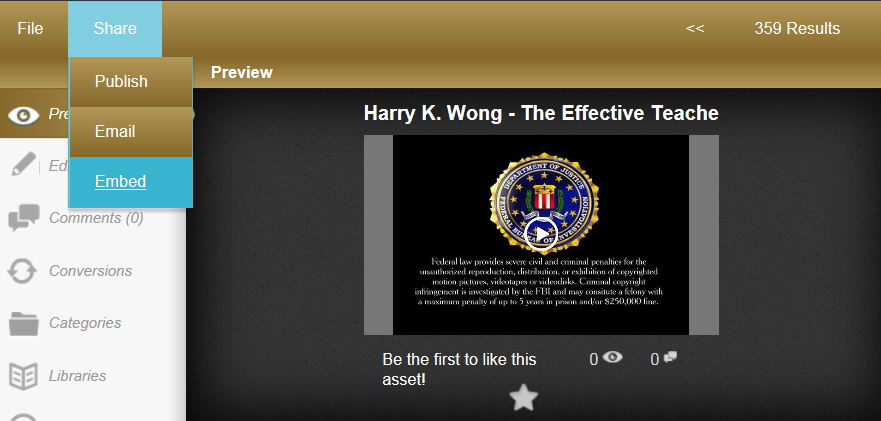 8. In the embed window select and right-click to copy-shortcut the “Preview Page” link if the asset is an audio or video selection or “Original Media Download” if it is a document/PDF selection.
 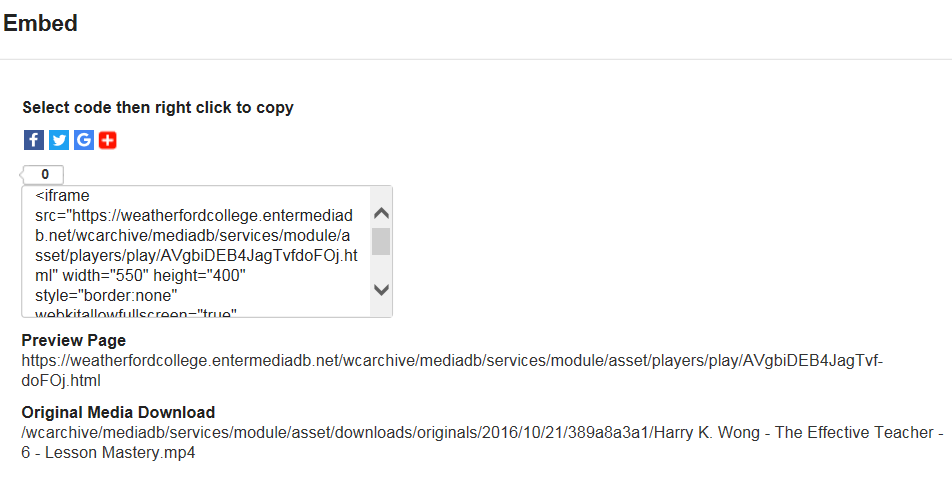 9. Go back to your Canvas classroom and paste the Embed URL into the “URL” box in the “Add External Tool” box.
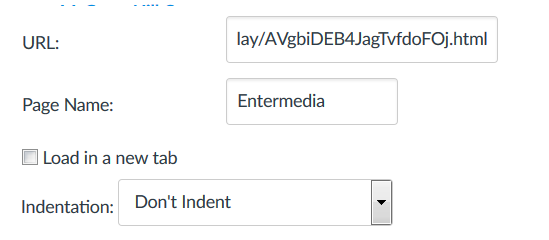
10. The recommended option for videos is the “Load in a new tab” option, as it allows the user to see the video in a full frame instead of in a scrollable frame. The indentation option can be set now or after you insert the link.
11. Click “Add Item” at the bottom of the window. 
12. Your new item has been added to the classroom as a “linked” option but it will not be published. 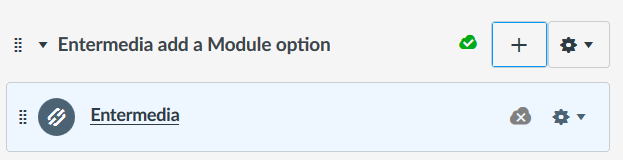
13. You can now edit the title of the link to let students know exactly what the topic is about by pressing the gear on the right hand side.
14. Click the link to test and if you have added the “Load in new tab” it will prompt you to Load the item in a new window: 
15. Click this button and your video will load in a new window and is ready to play.