
Distributed Media Sync
EnterMediaDB 10's built in sync functionlity can serve a diverse variety of purposes. Ranging from CDN simplicity to always on backup functionality or service redundancy; we'll be exploring the configuration of EM Sync in this article.
Features include:
- All Categories, Assets, Collections changes are pulled down to remote servers then local changes are pushed back up to remote server
- Efficient pulling of changes across large data sets. Only send the changes
- Include thumbnail evaluation for any changes or crops
- Handles delete syncronization so that asset counts stay synchronized
- Conflict resolution is done based on master edit node for each record. The master wins and exception are stored in the remotesaveconflictLog table
Part One: Configuring the Pull Script
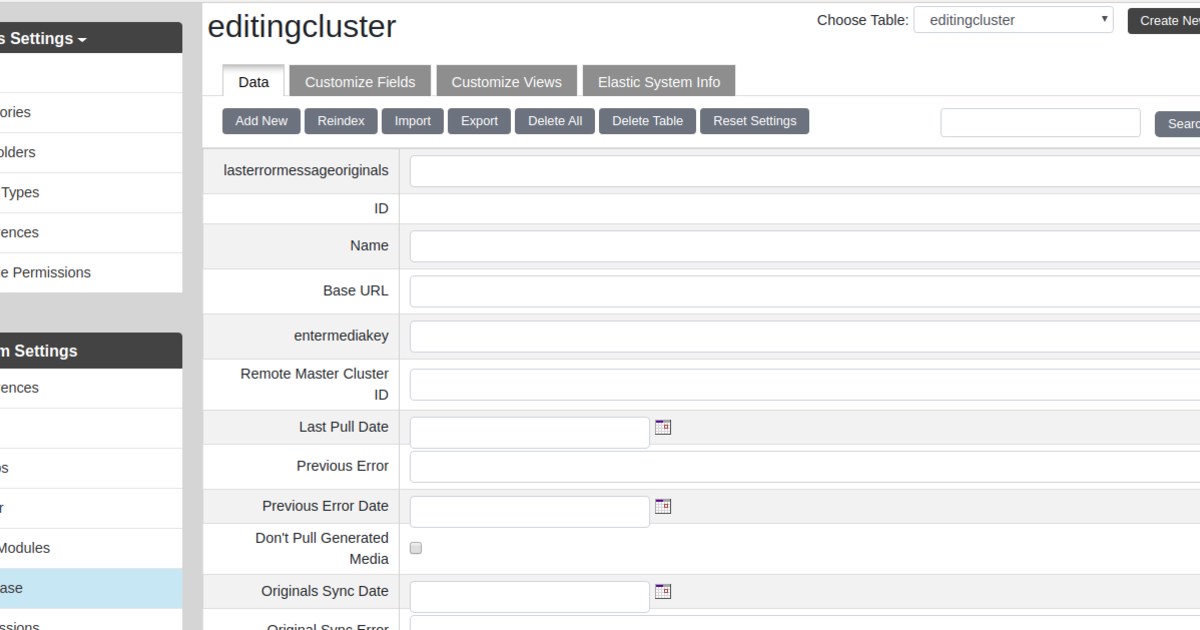
1. First let's go to Settings in the server we are pulling to, then Data Manager. From the Choose table option in the top right corner select editing cluster. Click on the Add New to display further key information we need to input on the server. You can add any name in the Name field to identify this record.
2. Enter the URL of your EMDB instance that we will pull from in the Base URL field, be it a domain (https://entermediadb.org/assets) or an IP address (http://172.20.0.220/assets). Please make sure you add the /assets to your input. Don't add a final backslash / to the end of the URL!
Keep this tab as we'll be filling this script with information from a new EMDB tab in your browser of the server we're pulling from.
3. Now, let's return to Settings, then the Server tab, make note of the Cluster ID of the server we are pulling from, and copy that into the Remote Master Cluster ID section of the previous tab we left open.
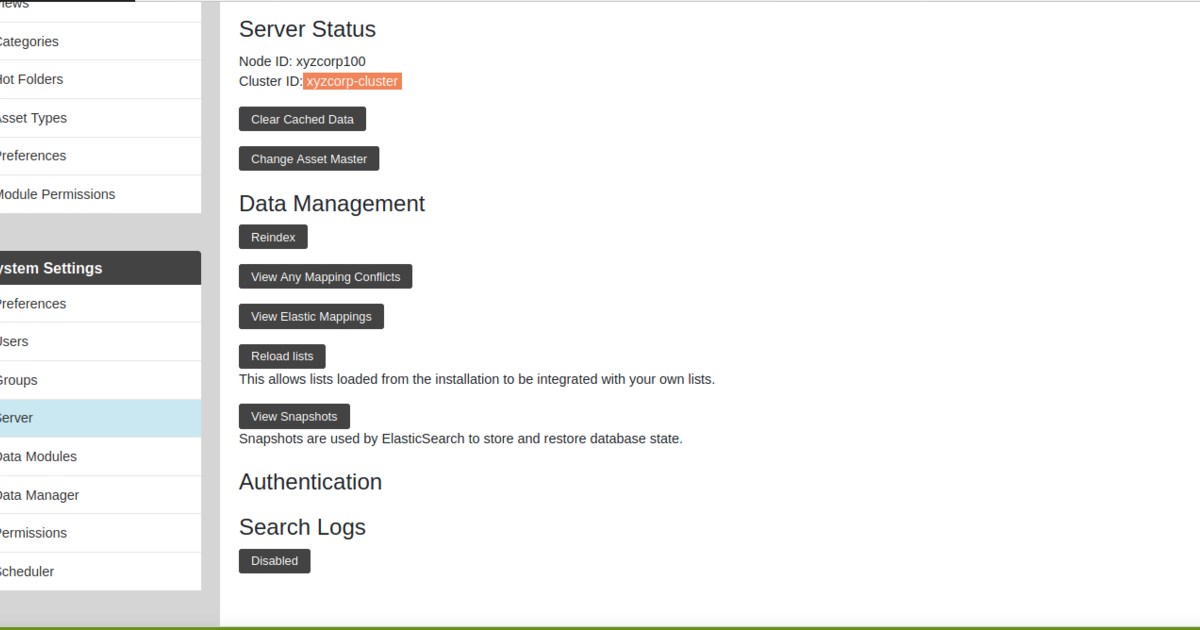
4. To obtain the entermediakey we will refer to the following documentation.
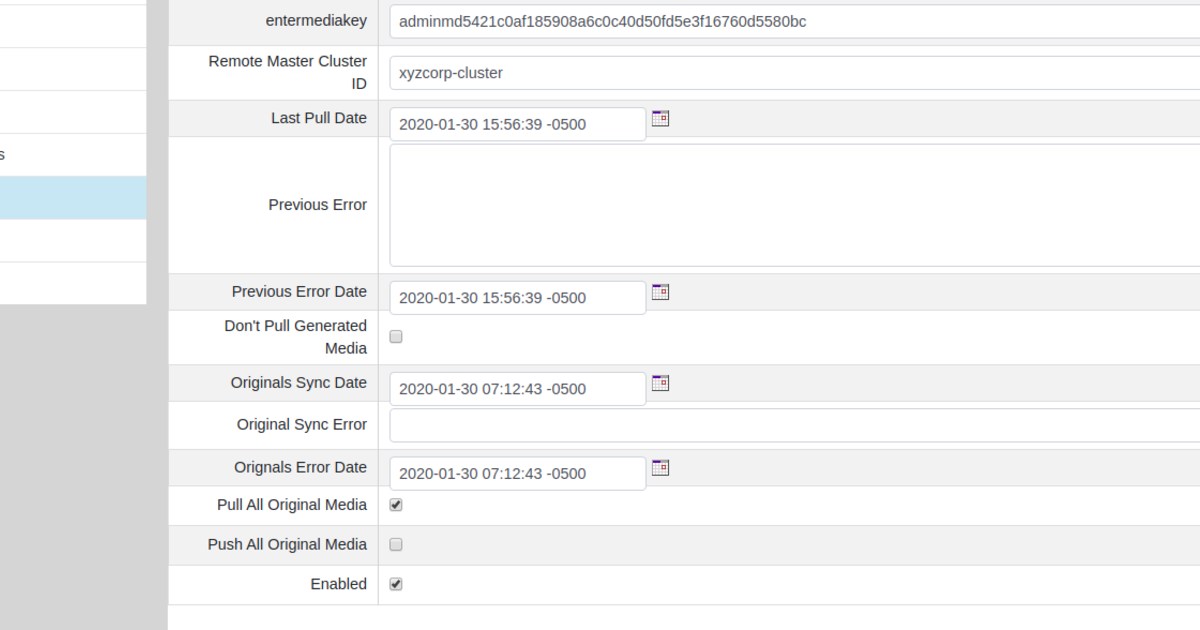
5. In the Last Pull Date we will select the date from which we'd like to sync the assets from. In other words, if we'd like to sync a period of 30 days back in time, then select in the calendar a date 30 days in the past.
6. Check the Pull All Original Media box and the Enabled box, then save at the bottom left corner.
Part Two: Setting Up The Events Scheduler
Now that we have configured the script we'll be setting it up to run at a certain time interval. We'll be working only in the pulling server from now on.
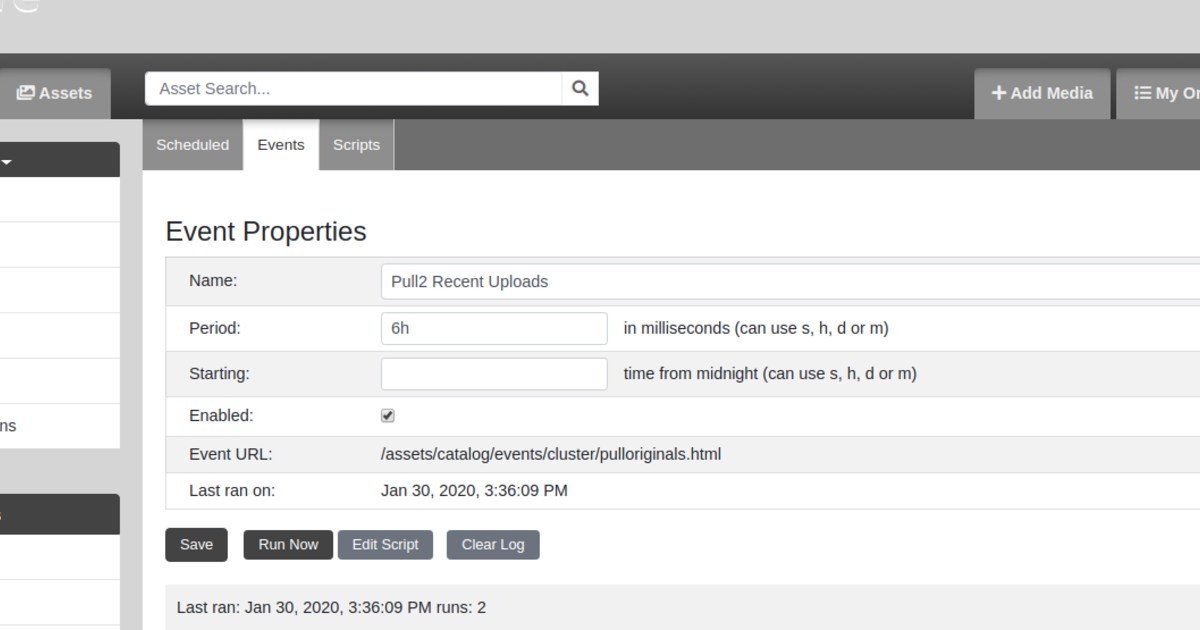
1. Head to Settings, then Scheduler, and in the top left we have 3 tabs, click on the Events tab. Here we have a dropdown, select on cluster. Open the Pull2 Data changes & then Pull2 Recent Uploads scripts.
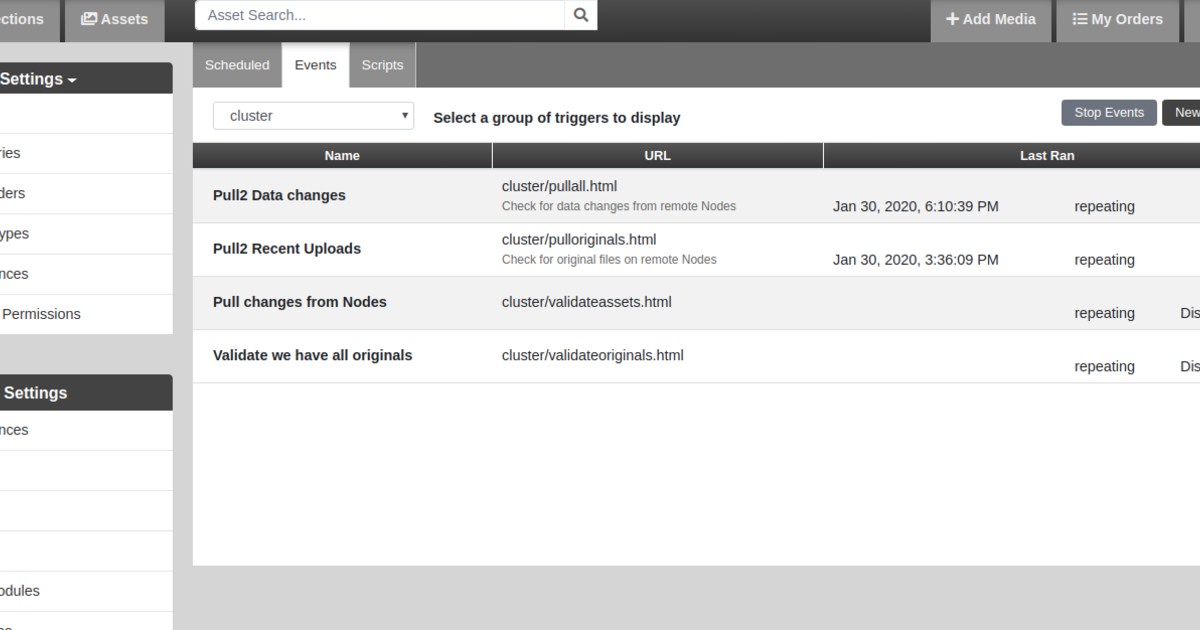
2. Here we can configure the sync interval in the Period field and if needed a specific time this should run in the Start field.
3. Select on the Enabled box if not checked, and then click Save. If you'd like to test it then you can hit Run Now and observe the live logs below. The initial run might take more time depending on the amount of assets being synced and network factors between the two servers.
And we're done!