
Collections - Visibility
Adding a New Group
To add a new group, go to Settings>Groups>Add New Group, as shown below:
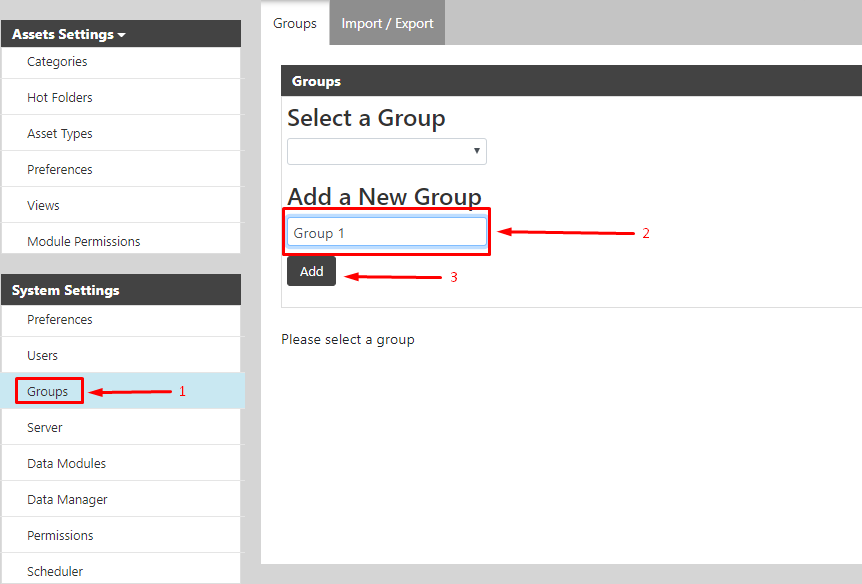
Enter your new group’s name (“Group 1” in the above example), then click Add.
Creating a New User
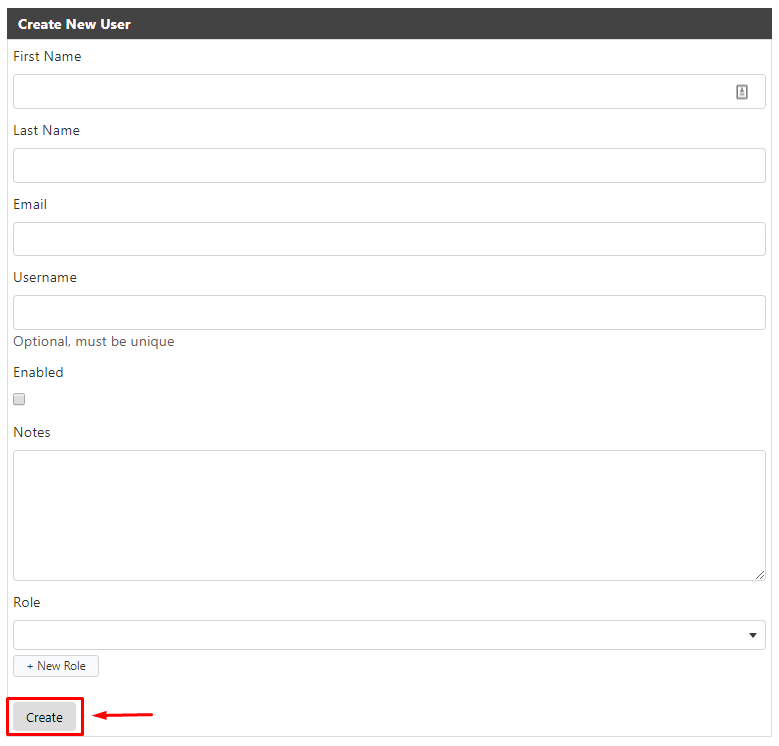
To create a new user, go to Settings>Users>Create New User, as shown below:

Fill in the fields as you wish, select a role for that user to be a part of, if relevant – then hit Create.
Adding a User to a Group
To add a user to a group, go to Settings>Users then click on the user you wish to add to a group.
When redirected to their details, scroll to the bottom and select your desired group from the drop-down menu provided. Then, click Save Changes.
NOTE: You can assign roles to users in the same way, as there is a roles drop-down provided here as well.
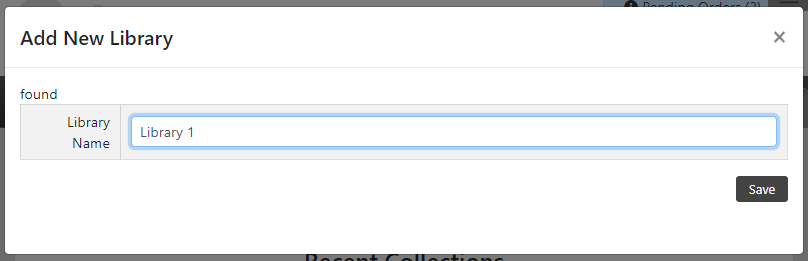
Creating a New Library
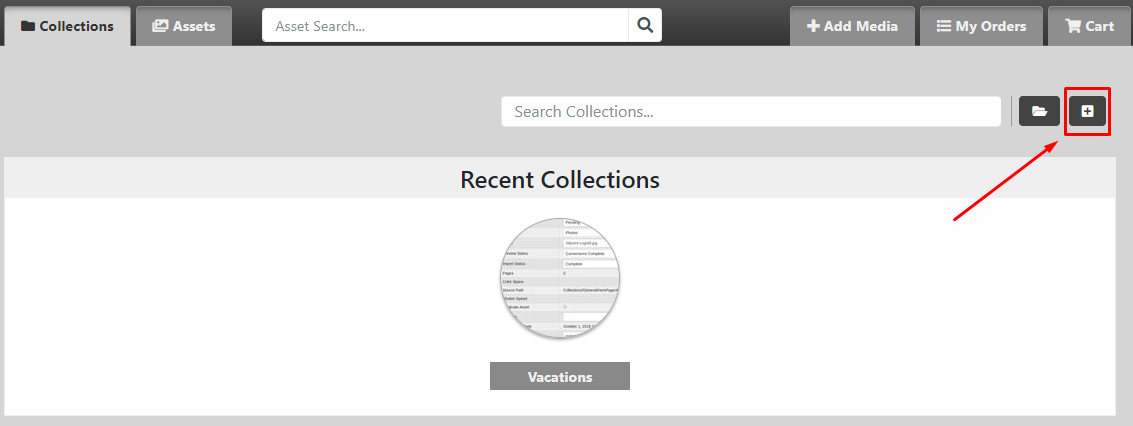
To create a new Library, go to Collections, and click on the + icon on the right. Then click on New Library, as shown below:
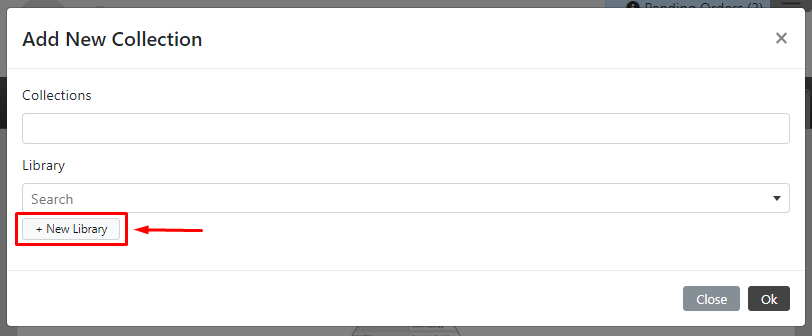
Type in the Library name ("Library 1" in the example below), then click Save.
Adding a new Collection to a Library
To do this, go to Collections>+ icon (as shown in the previous example).
Type in the name of the new Collections ("Collection 1" in the example below), then select your desired Library from the drop-down menu ("Library 1" in the example below).

Viewing Permissions
View Permissions allow for different groups/roles/users to be able to view a certain Collection.
To edit the viewing permissions, go to your desired Collection, then go to View Permissions, as shown below:
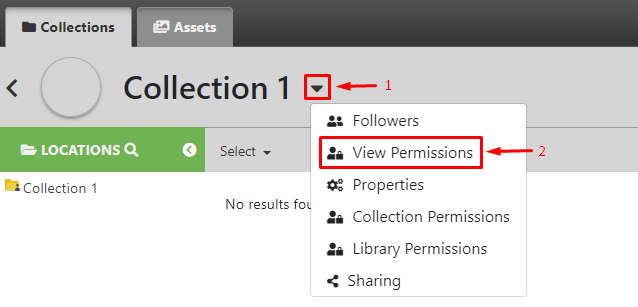

From here, you can add whatever groups/roles/users you want to be able to view the Collection, then click Save.